Migrating data to Zakya is one of the most important task when switching from another platform. All the data, including items, item groups, composite items, vendors, purchase orders, packages, and so on, needs to be transferred to Zakya. Once the data is migrated, certain configurations have to be done in Zakya, so that you are ready to start selling in your retail store.
Note
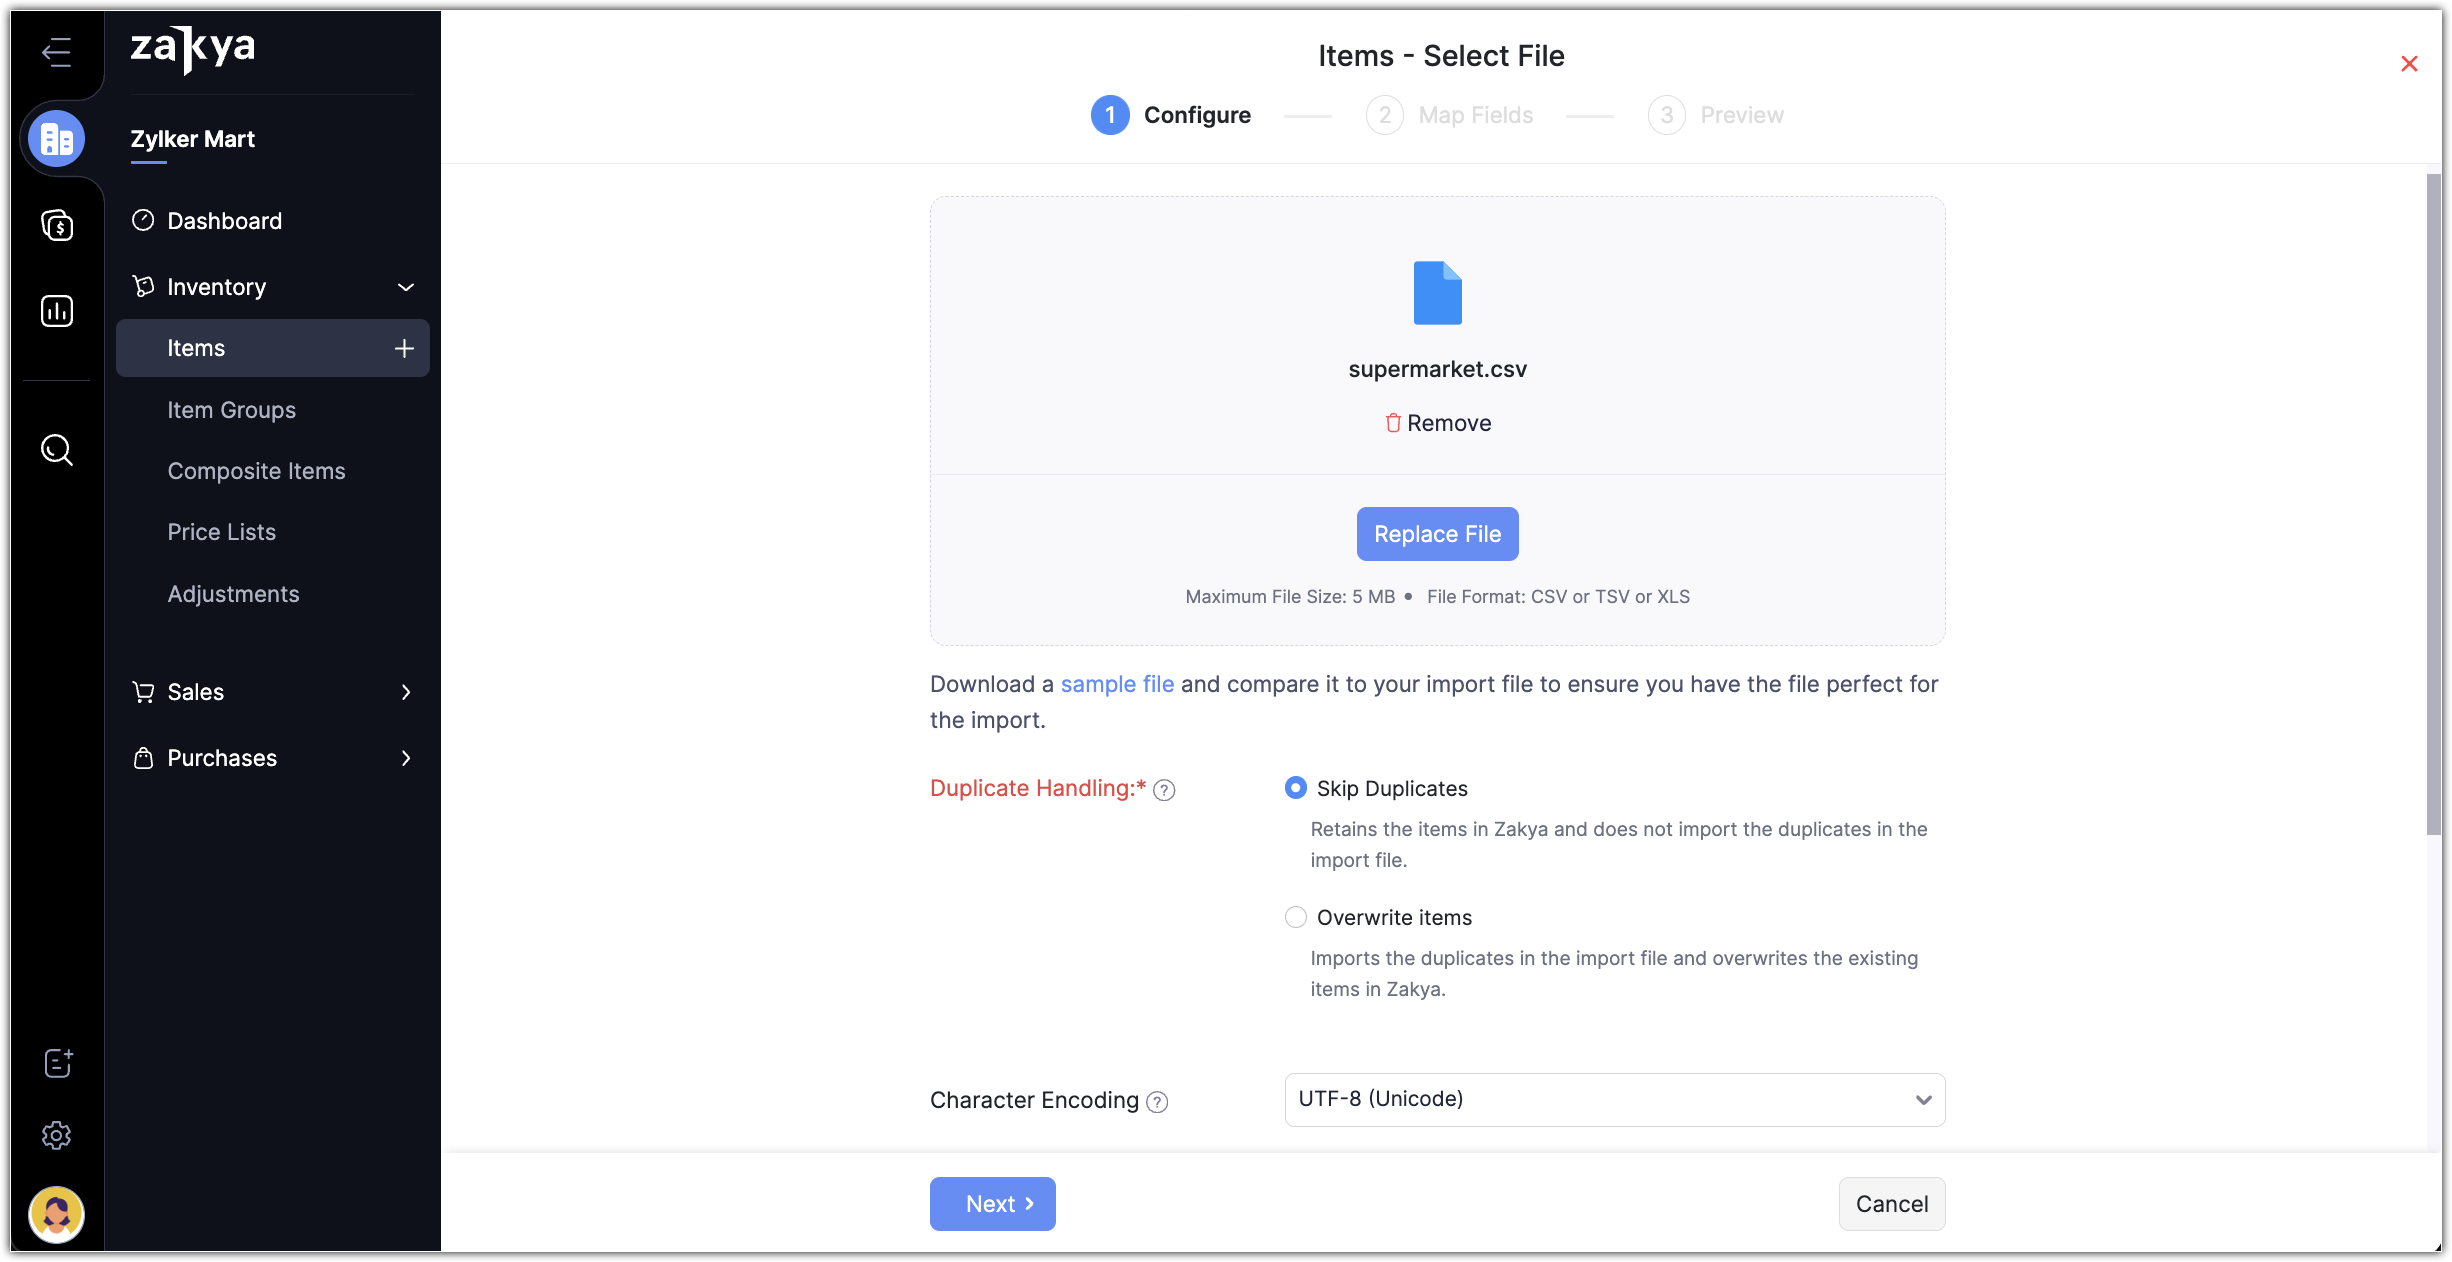
- The data can be imported to respective modules individually
- The maximum size of the file that can be imported is 5MB
- The file formats supported for importing data are .CSV, .TSV, .XLS.
- The import settings can be configured and saved for future use.
Steps to Migrate
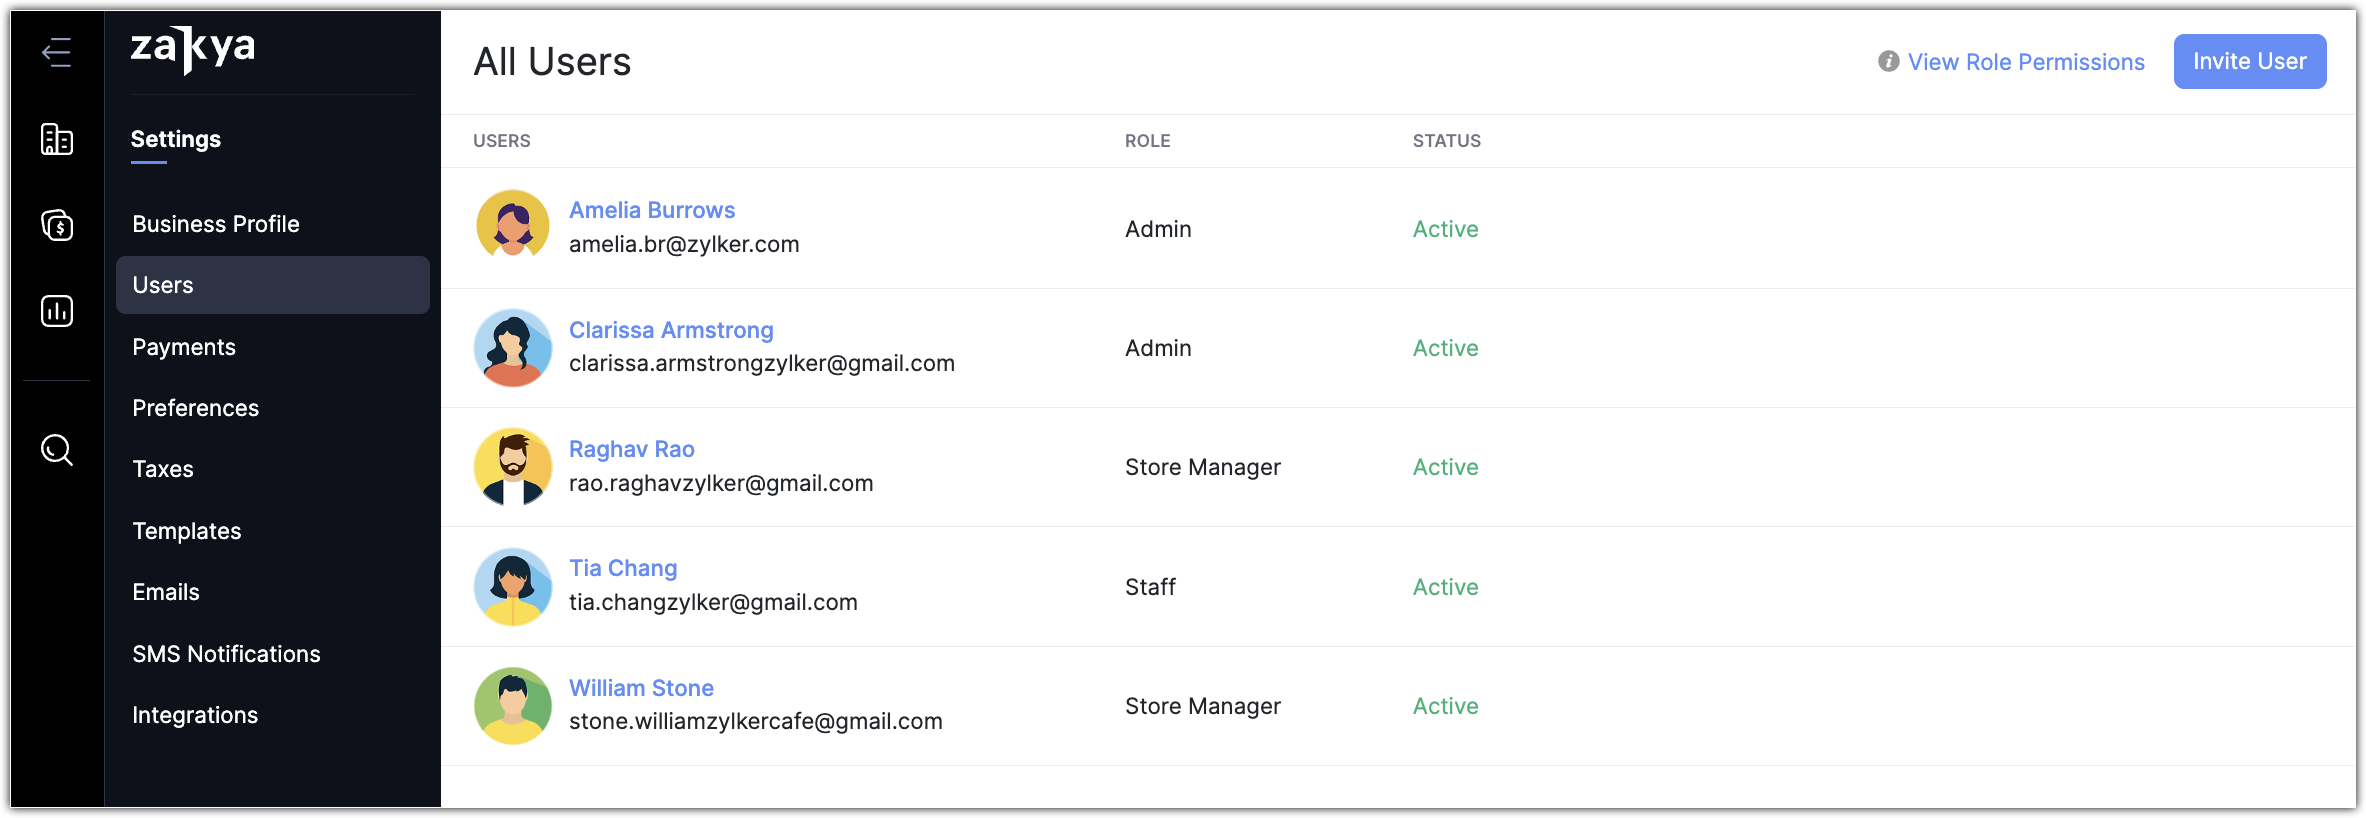
Step 1: Setup Organization Profile and Add Users
Information about your organization, such as Address, Phone, and Website can be added. This information can be included in your various documents, such as purchase orders, package slips, and sales orders. As an administrator, you can start adding users (employees) in your organization and specify the appropriate roles. This determines the level of access to data and settings in Zakya.
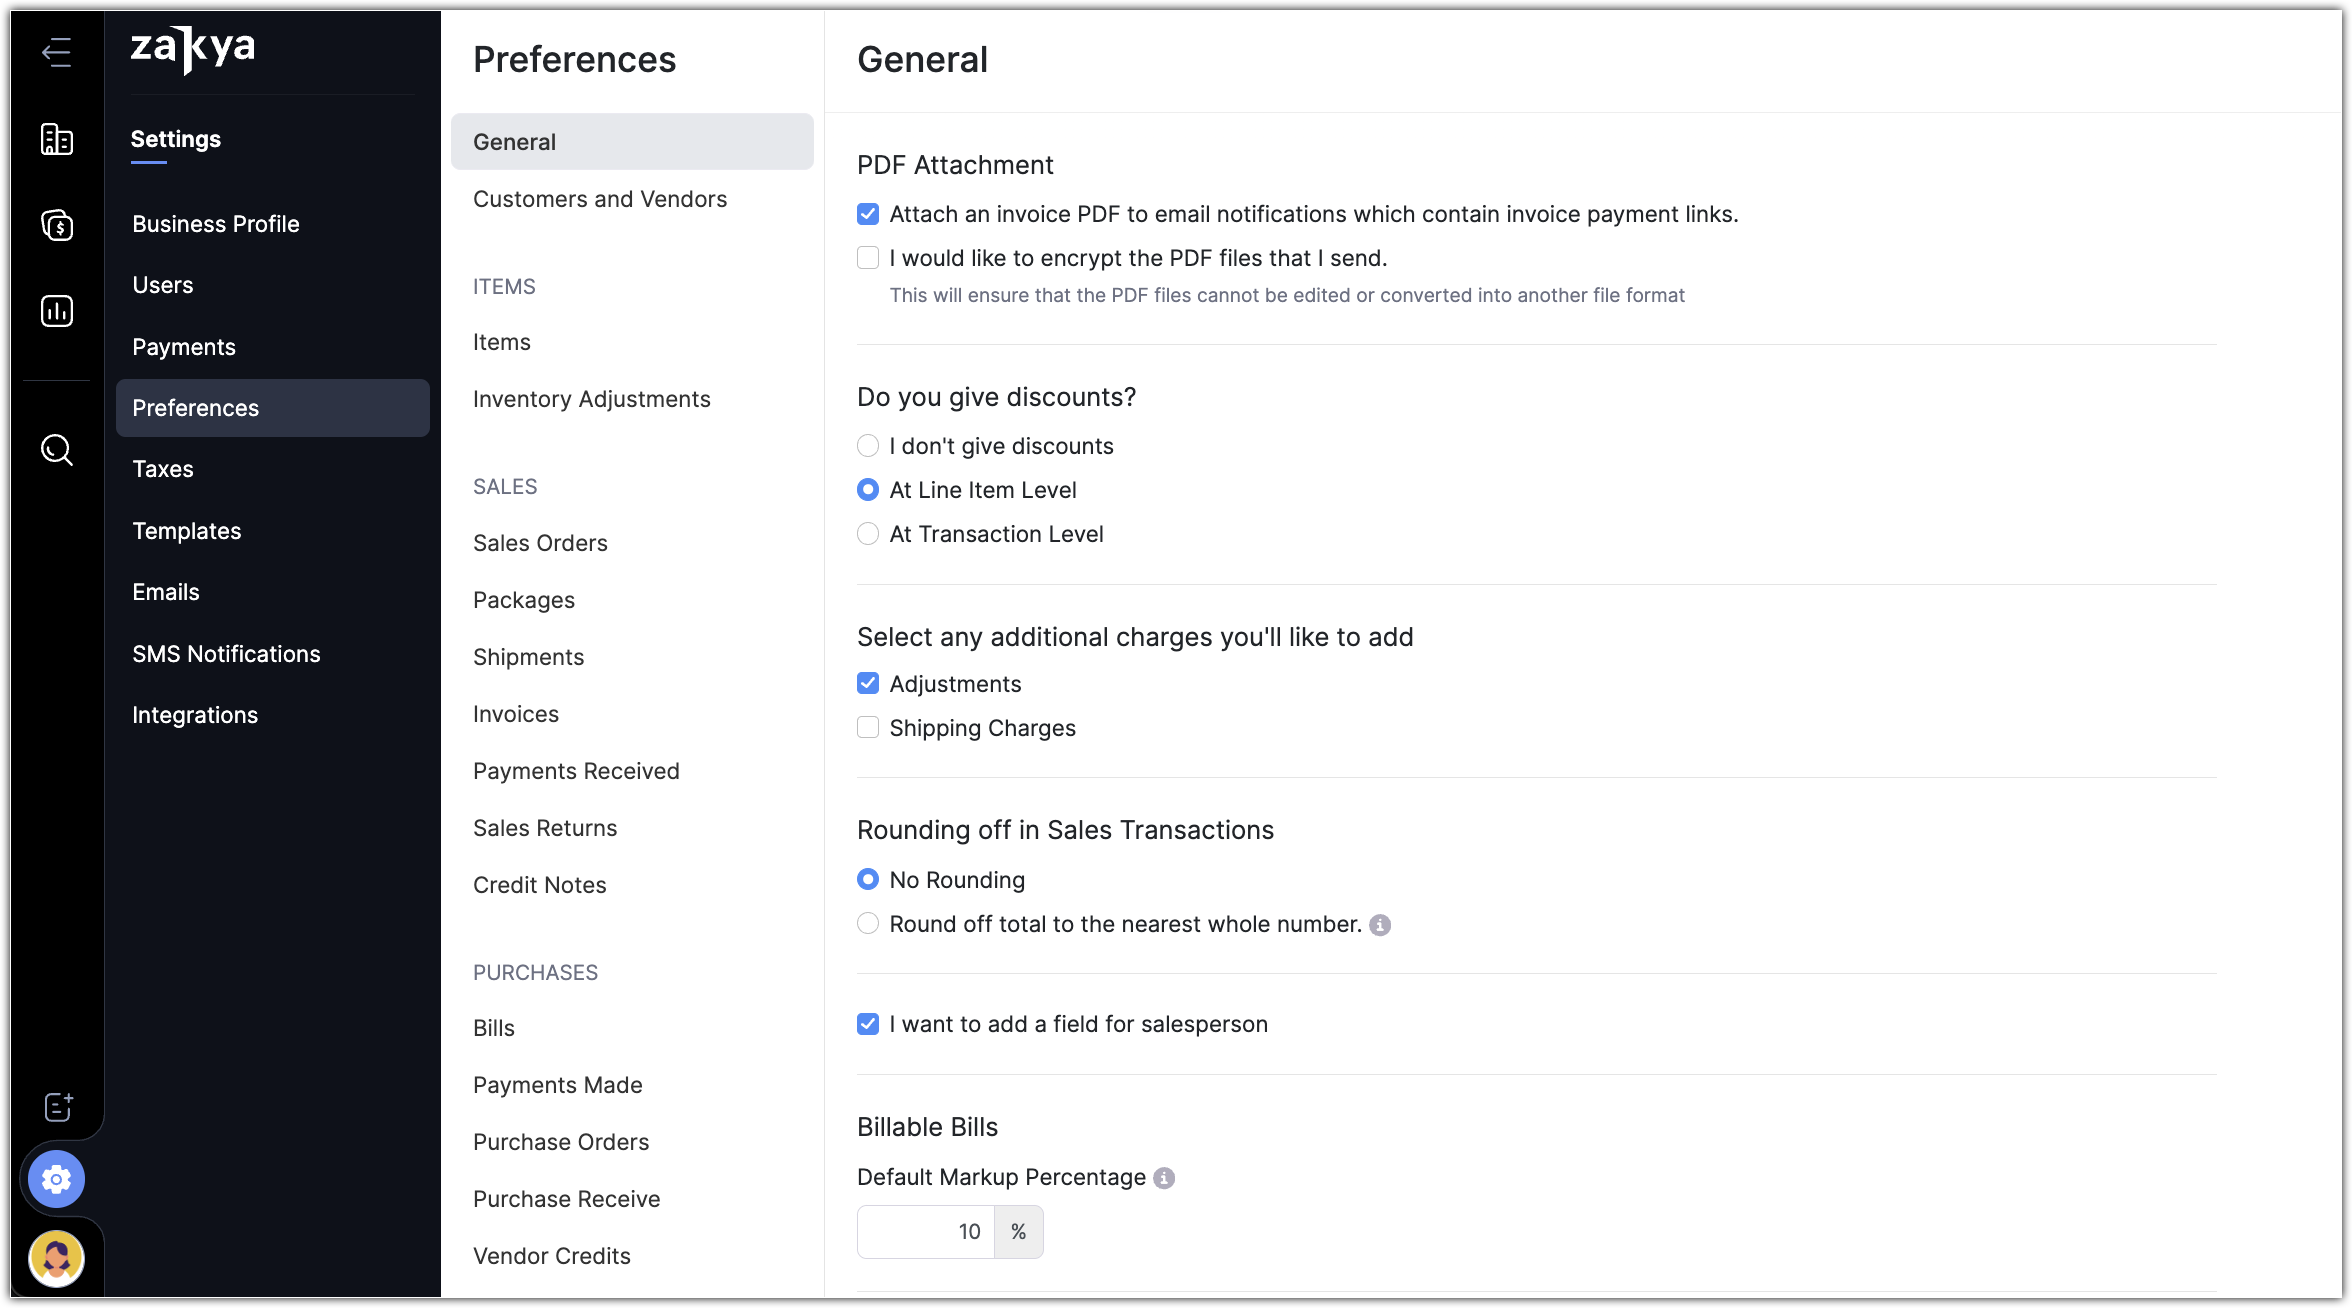
Step 2: Configure Preferences
Before the data is imported to Zakya, certain configurations can be carried out to suit your business requirements. These preferences can be specified for various modules in Zakya, including enabling price list, composite items, advanced inventory tracking, creating custom fields, validation rules, and so on.
Step 3: Import Data
This is the most important step where you move all the data from the old platform to Zakya. First, export all the data that you need from the old platform in the supported file formats (.CSV, .TSV, .XLS). Once the data is ready, it can be imported to the respective modules in Zakya.
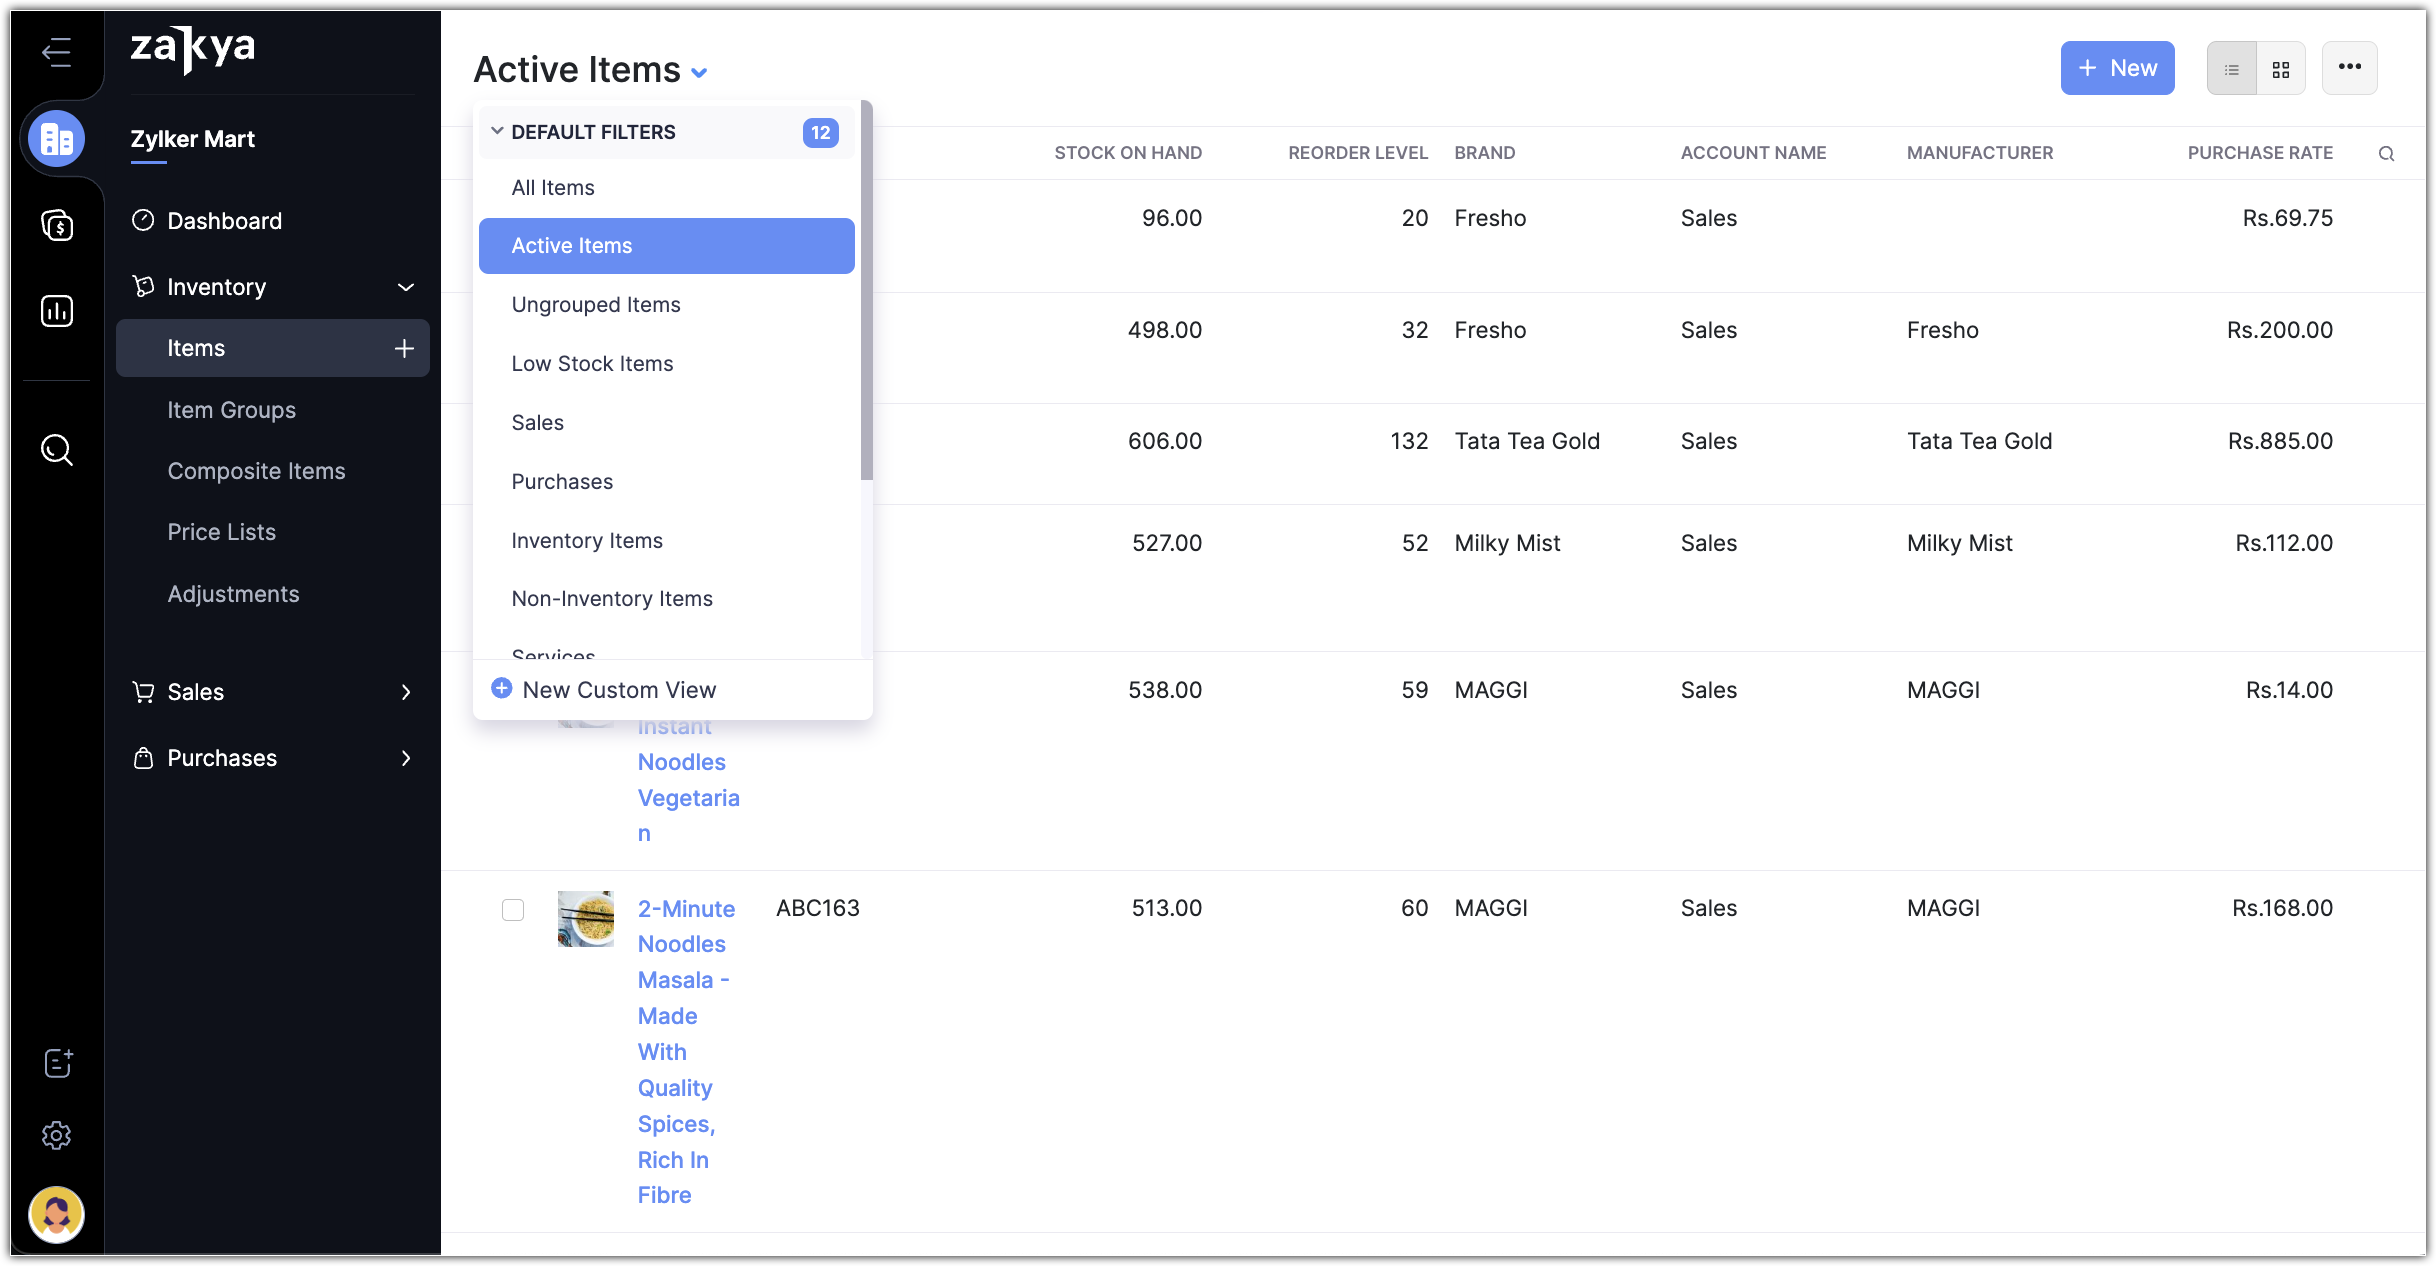
Step 4: View and Personalize data
Once the data is imported to all the modules, it's time to view it all in the respective modules, and familiarize yourself with the various ways in which you can search, sort, and filter the data in Zakya.
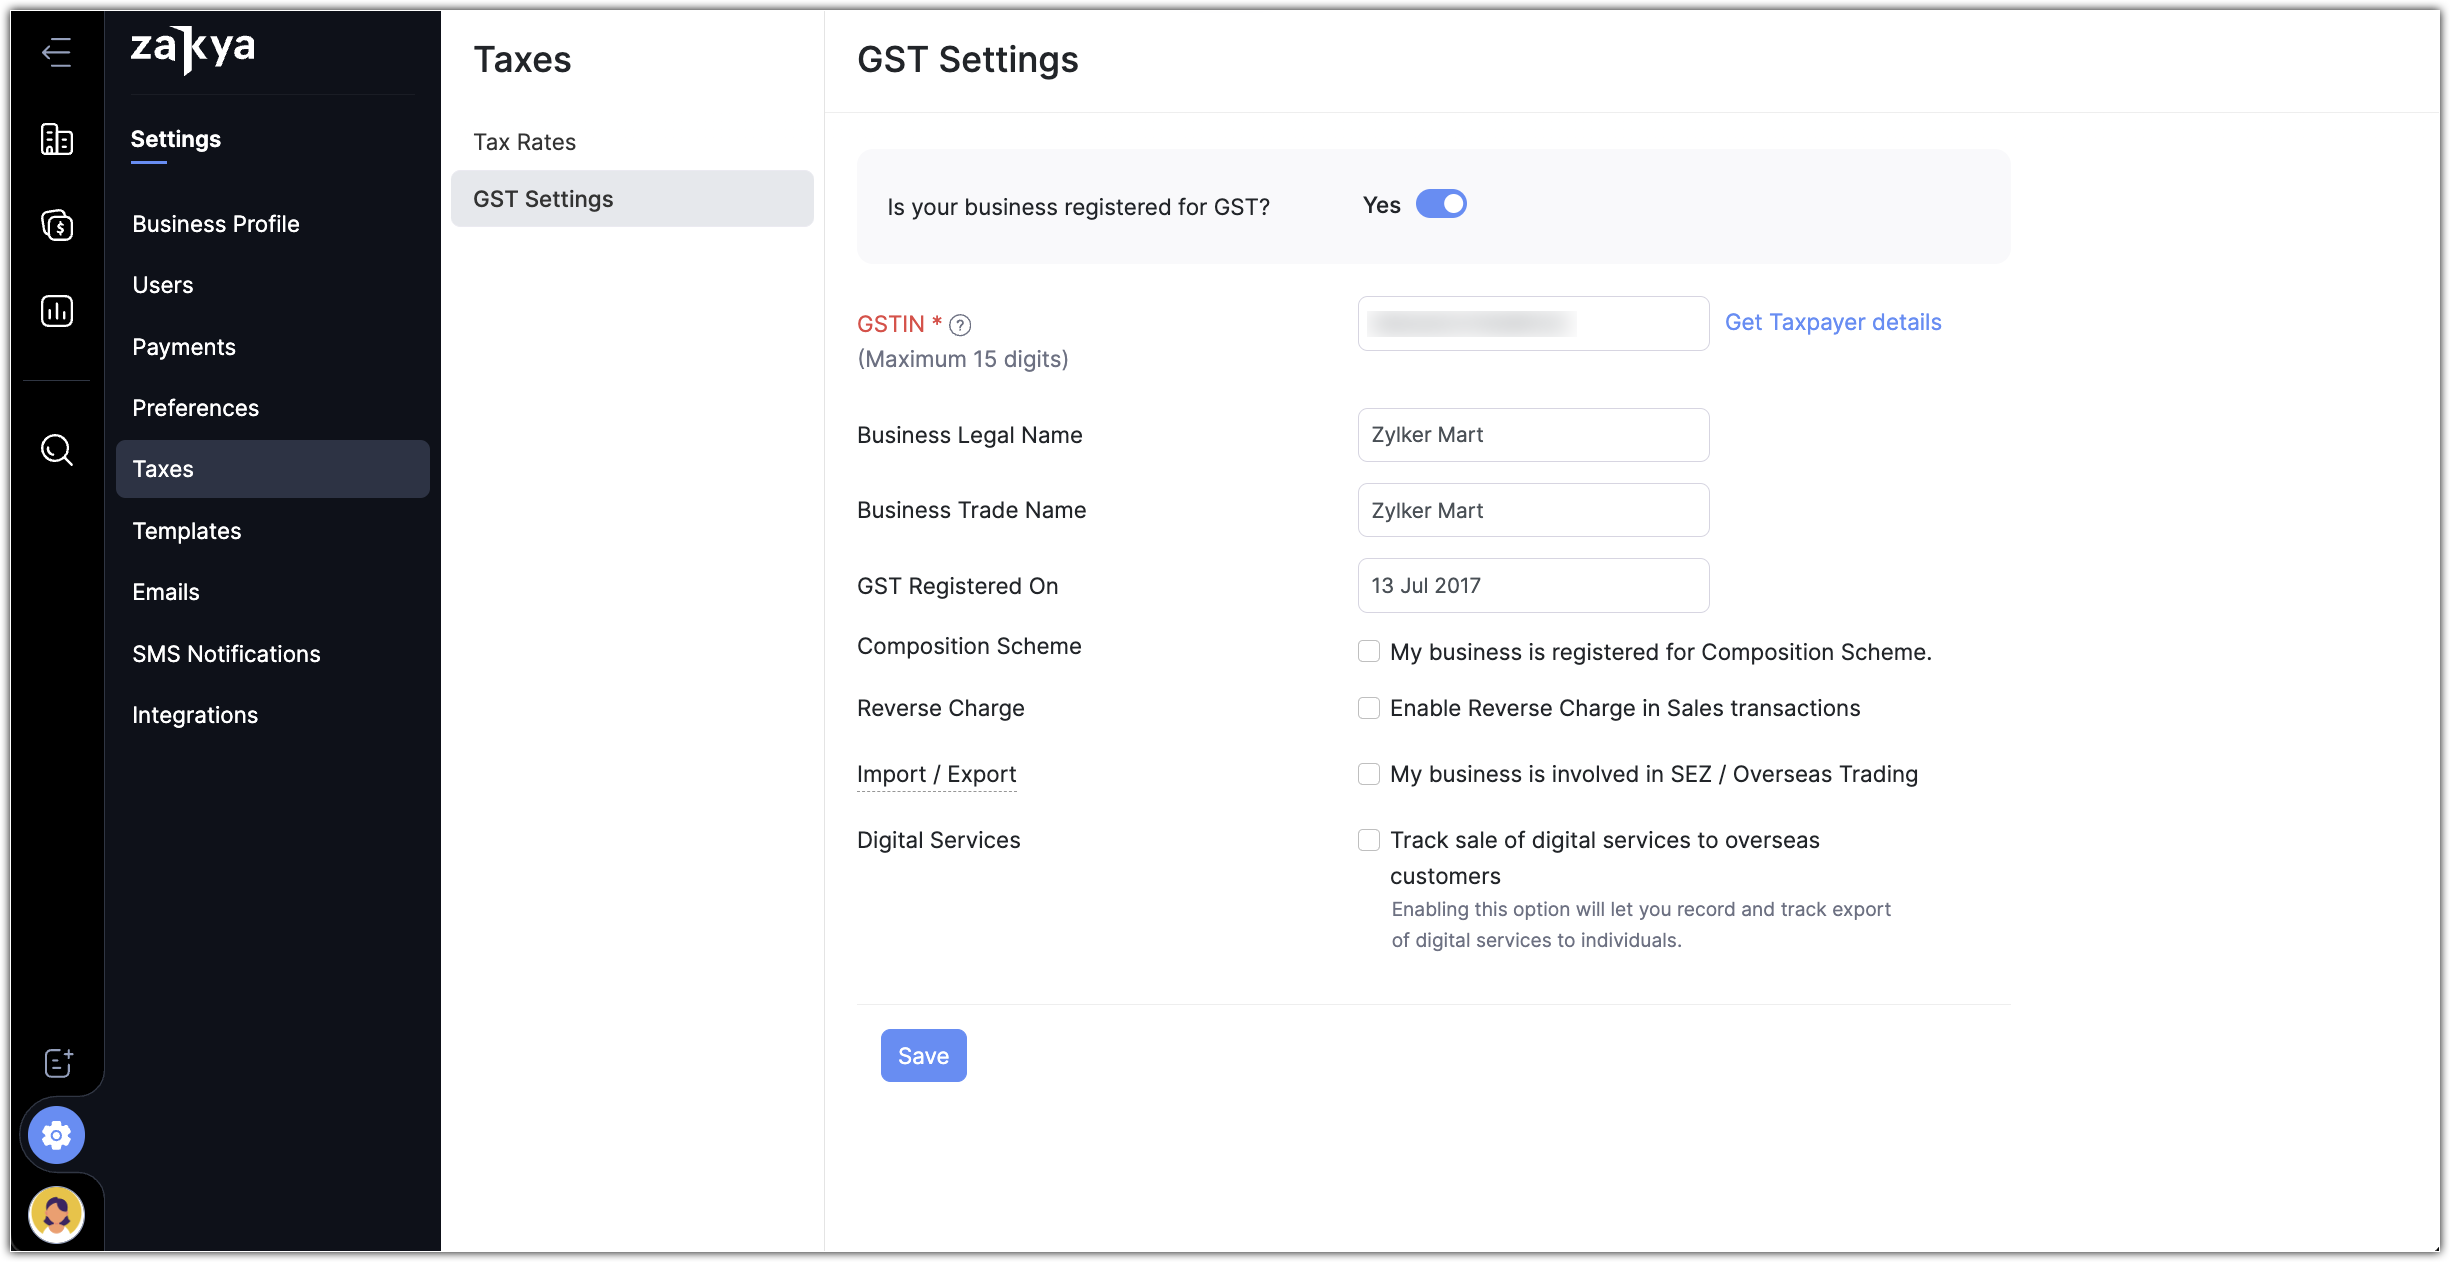
Step 5: Configure Taxes
Now that all the items are added, you can start configuring all the tax rates that are applicable in your business. If your business is registered for GST, you can configure the GST Settings and add default tax preferences, tax rates, and tax exemptions.
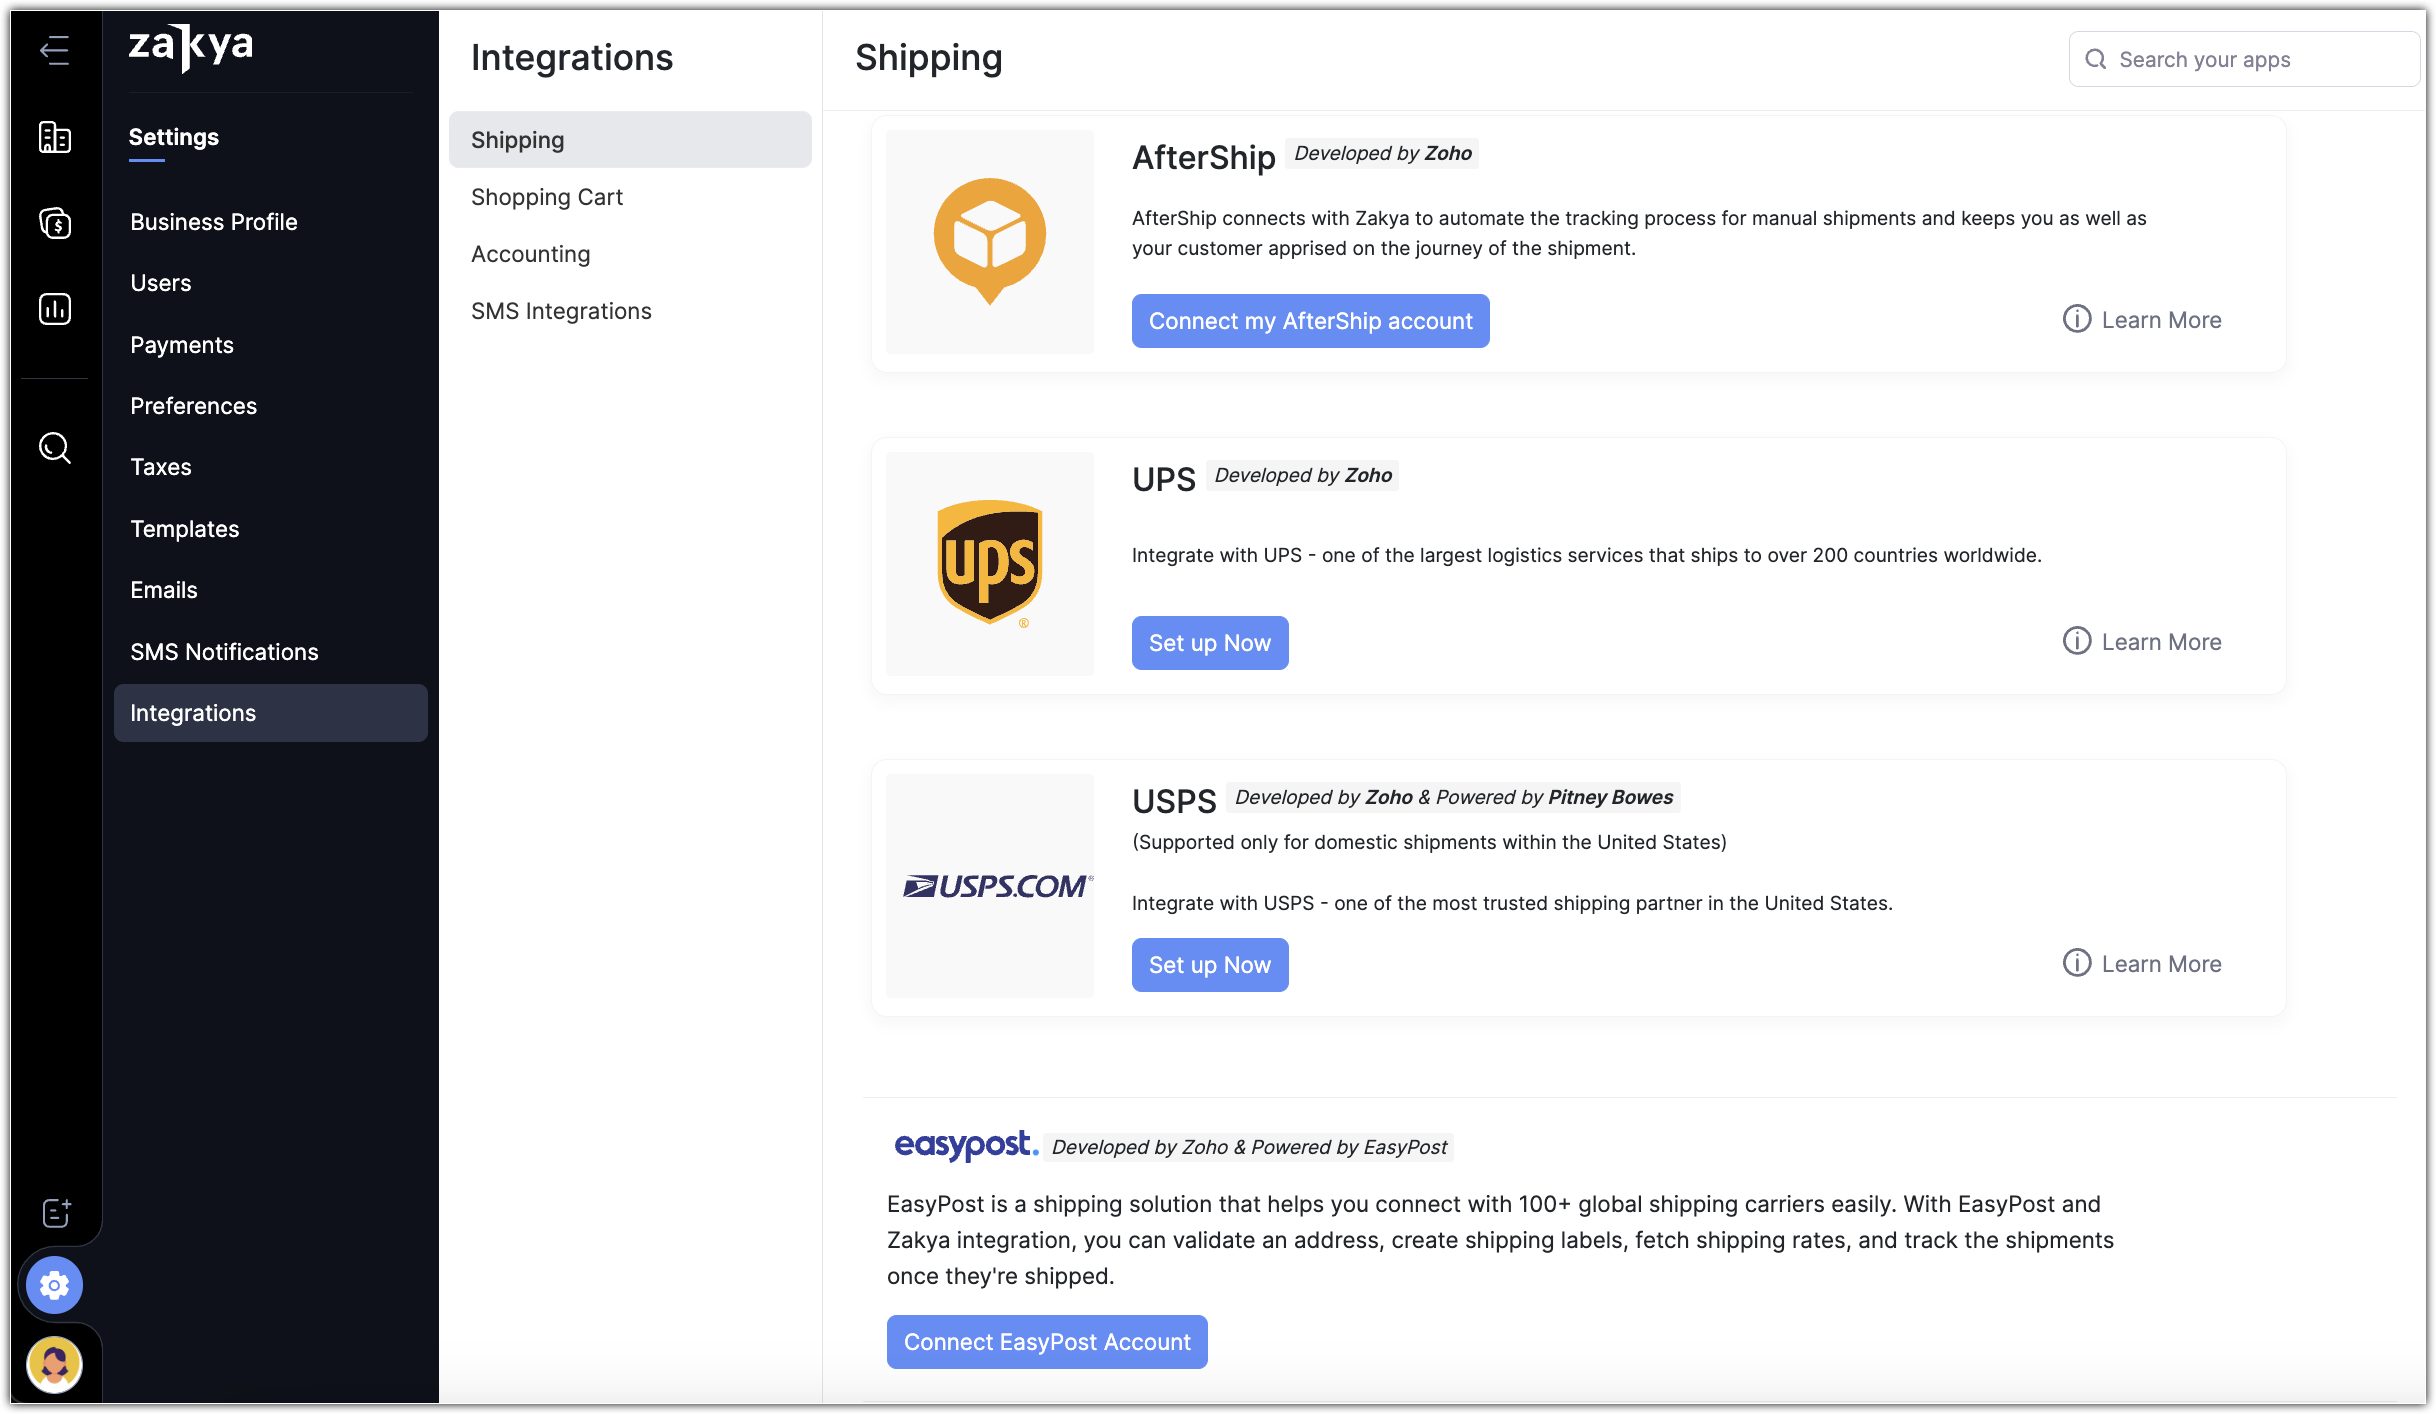
Step 6: Integrate Shipping Carriers and Shipment Tracking
Zakya can be integrated with Shipping Channels such as UPS, and various other platforms via Easypost. You can also track the shipment by activating Aftership. This helps you create shipments and track their status without leaving the application.
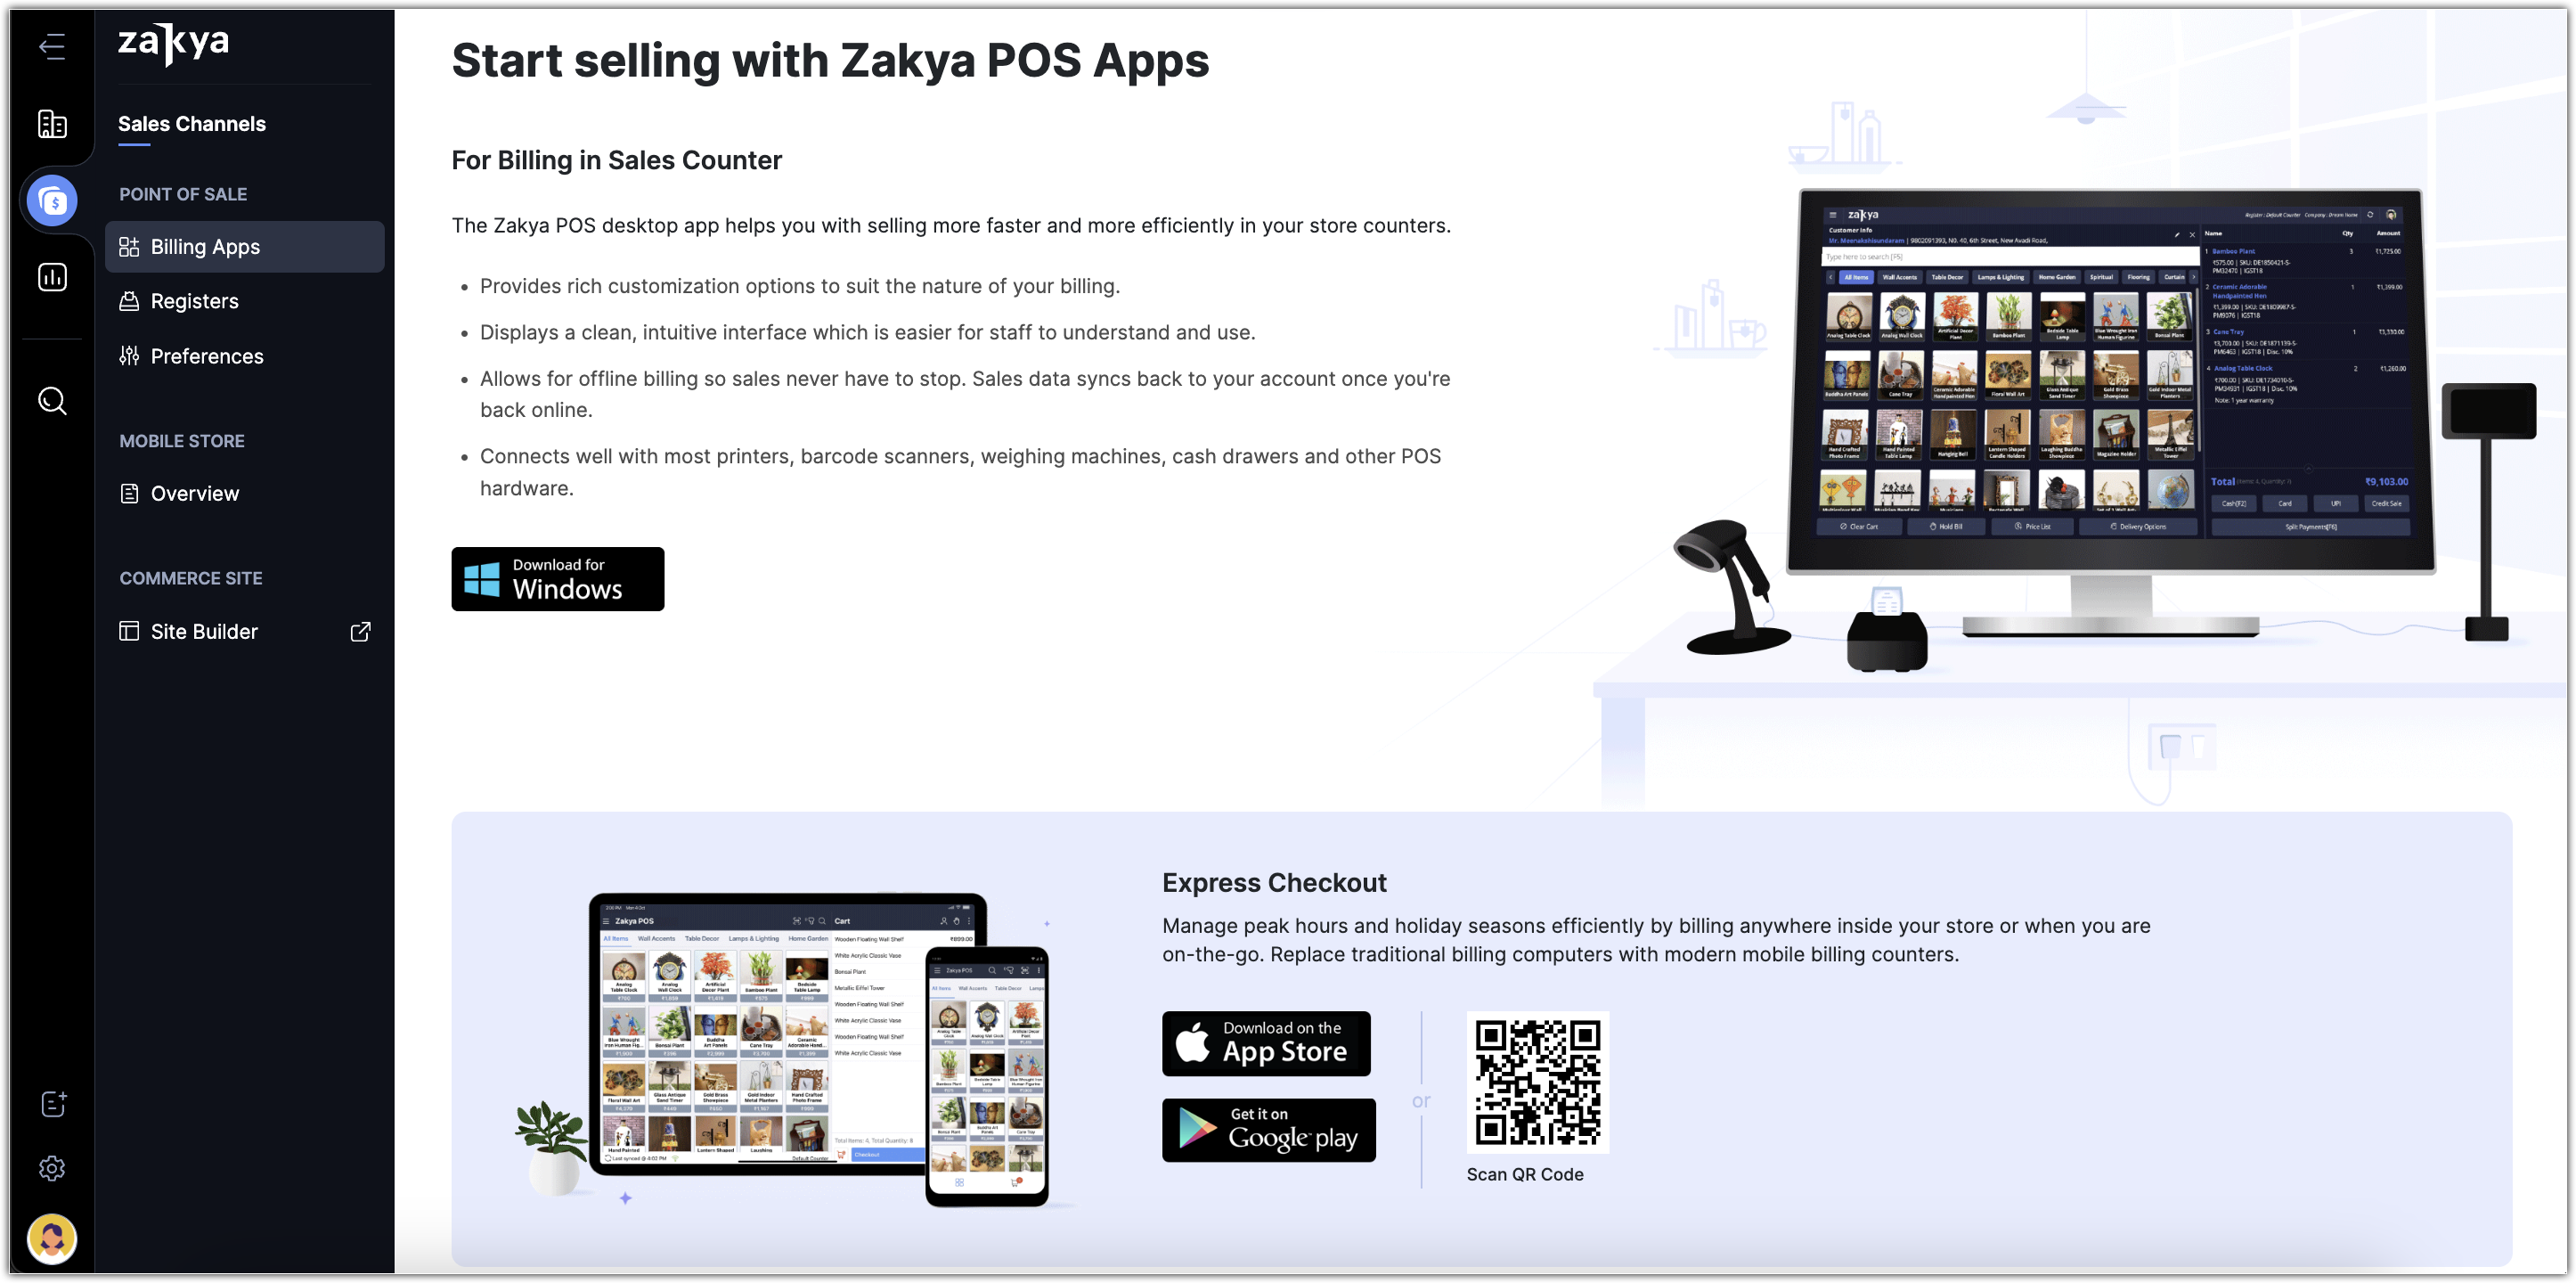
Step 7: Install applications
Zakya offers various applications for different operating systems to enable faster checkout at the point of sale. Zakya POS is available for Windows, while the Express Checkout app is available for Android and iOS. Apart from these, you can use the Mobile Store and rebrand it for your business, then share it with your customers, enabling them to place an order right from the comfort of their home.